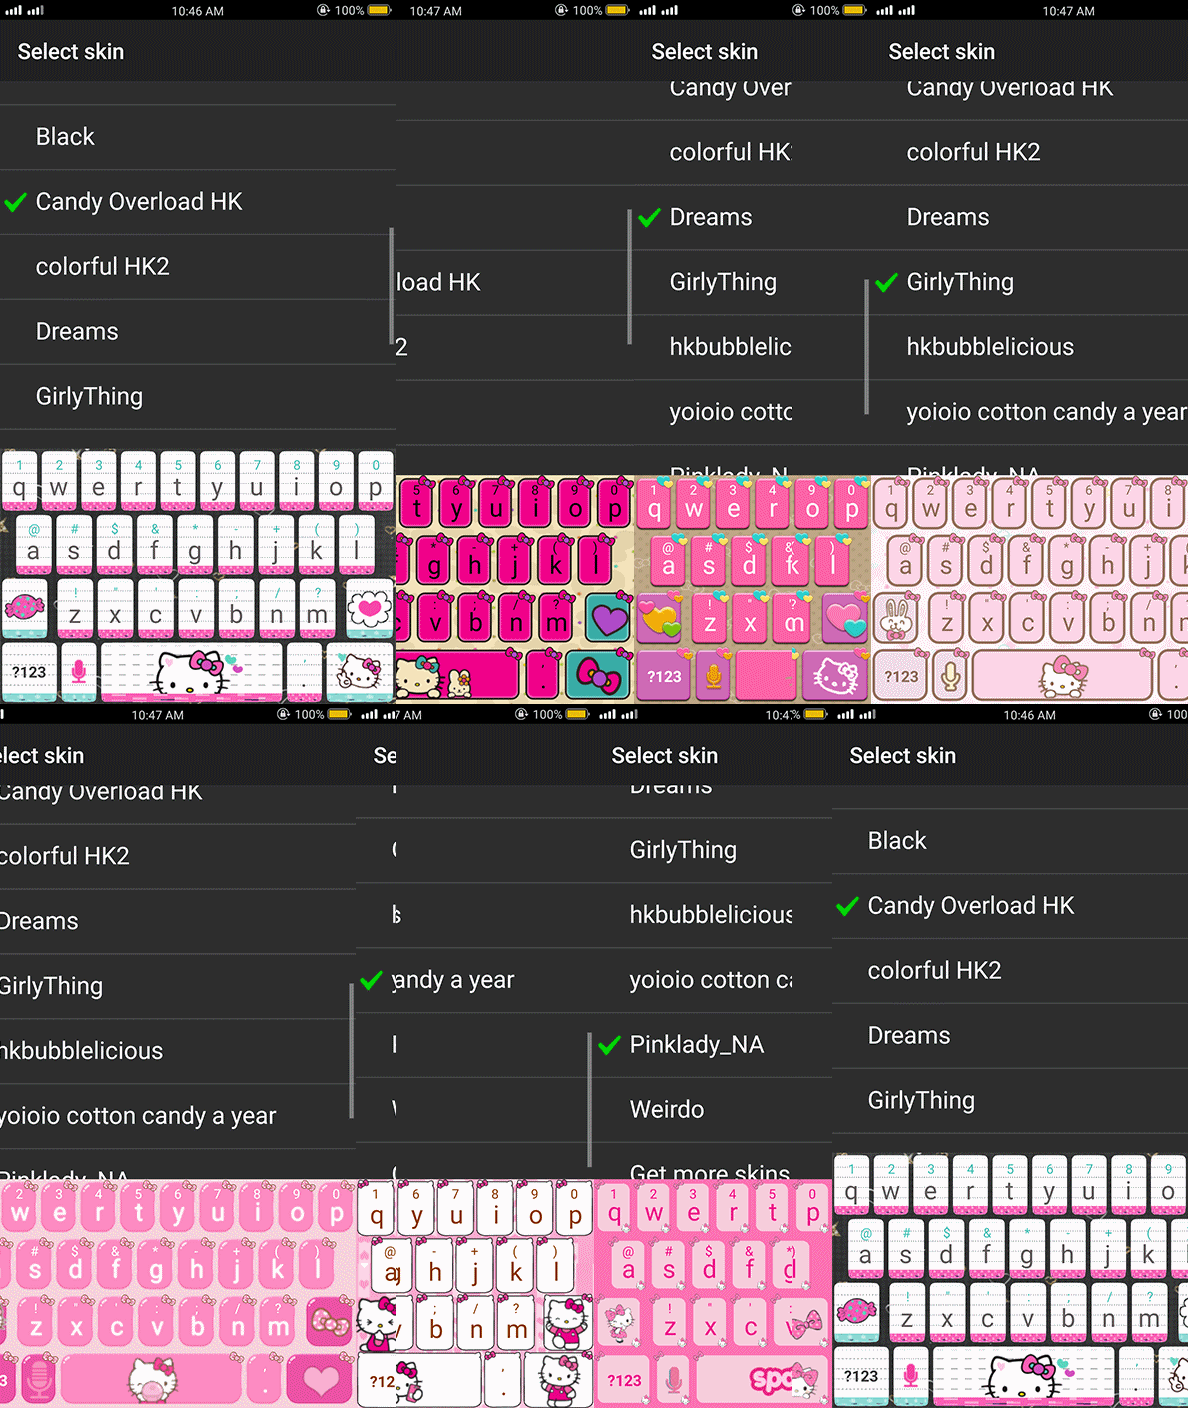
In this tutorial we will guide you on how to install and apply skin on Smart Keyboard Pro. Please read carefully this guide from top to bottom to avoid encounter an error. Please take note that all application needed on this tutorial is already posted on the link at the end of this tutorial. Let’s start the tutorial.
Oppo Apply Smart Keyboard Pro Skins
Step 1: Download the Smart Keyboard Pro from the link below.
Step 2: Install the Smart Keyboard Pro the downloaded application is located at Files ➜ Phone Storage ➜ All Files ➜ Download.
Step 3: After installation, Set Smart Keyboard Pro as your default keyboard. How to do it? Open your Settings ➜ Additional Settings ➜ Keyboard & Input Method ➜ Default ➜ Select Smart Keyboard Pro.
Step 4: Go to Files ➜ Phone Storage ➜ All Files ➜ add folder, name it Skins.
Step 5: Cut/Copy the Skins (.zip) file and paste it in the Skins Folder you created before.
Step 6: To apply the skins on keyboard, go to your keyboard long press 123 on keyboard to enter the Smart Keyboard Pro Settings.Tap General Settings ➜ Select Skin ➜ scroll down and apply the theme you want to use.
Here are some skins for your Smart Keyboard Pro. Enjoy Browsing
DownloadLinks Here:
Thank you for time browsing Oppo Apply Smart Keyboard Pro Skins, if you think this article is helpful do not hesitate to share this article to our Co-Oppo user. Thank you so much. Sharing is giving!


0 Comments